Monday, 23 November 2015

Simple T-shirts (and the patterns are free!)

Who doesn't like free patterns? I surely do! First top is Kimono Tee from Maria Denmark - free when subscribed to her newsletter. It is a very simple, two-piece pattern. The only thing I changed was doing an FBA and then removing the dart using this tutorial. I used some kind of viscose blend knit fabric I got from The Fabric Store. Sewing was a breeze - four seams, hems finished with twin needle, the neckline finished with a neckband. I really like this top and the pattern itself! I've been wearing it at least once a week since I made it in August :)


Maria Denmark


This one is a free pattern from Grainline Studio - Hemlock Tee. Same deal - you need to subscribe to a newsletter to get the pattern. Hemlock comes in one size only (42" bust) and it is supposed to be a boxy, oversized tshirt. I took the sides in to make it a closer-fitting top. All edges are finished with a twin needle. I used some mystery gold/ivory striped knit - one of my scores from The Fabric Warehouse sale 2 years ago - I love their sales!!!

Grainline Studio


Sunday, 1 November 2015

Halloween dress

I'm not really good at making costumes. I usually have the perfect idea months before so I always think I have sooooooo much time... Yeah, right. I can almost never finish costume in time!


This year I decided to do what I do best and make myself Halloween themed dress. I found this cute fabric at good old Spotlight and the price was reduced to $8 per meter. Such a score! The top part is pattern number 115 from Burda 4/2013. I used that pattern to make my first dress ever and you can see it here. The skirt is Simplicity 1880. The only changes I made was adding the back seam and moving the zip from the side to the back. The neckline is finished with bias tape (and i totally forgot to take photos of it!) and I used my rolled hem foot to finish the bottom.


Another thing I made is barely visible on the photo - a petticoat! I used fluorescent yellow nylon net and matching thread and an elastic from my stash. I never made petticoat before but it was piece of cake especially when using gathering foot. I left the hem untouched - I didn't want to waste time binding it as it's not something I will wear on regular basis. Nylon net is a bit scratchy so if I ever need another one I'll probably just buy a tulle petticoat ;)


I wore this outfit to drinks with WSBN girls and went to a Halloween party after that. Almost every girl in the room came to tell me that my dress was amazing and ask where I got it from. It was really satisfying telling them that I made it myself! It's such a pity this dress can only be worn around Halloween :(

PS. Sorry for the smudged photos - I haven't realized my lens was dirty!!!!


Here is a crappy photo of my petticoat - I found it hilarious that it was standing on its own!


Wednesday, 28 October 2015

Black and red

Very original title, huh? The top is another New Look 6150 this time made with very thick double sided stable knit. Merino on one side and something foam-like on the other. I wanted merino to be on the outside as the color was much deeper. I made size 16 and this time I didn't have to go down a size - the fabric was much more stable than in my chevron merino one. I should have done an FBA though. It would make the top to fit nicer and I wouldn't have to add armhole darts to deal with gaping. The top is really warm and it's great wardrobe basic.


The skirt is inspired by my sewing and blogging buddy Iwona. The pattern is from Burda 3/2014, model 17A. I used nice and thick cotton that was amazing to sew with but it wrinkles a lot. The skirt was an easy make but I messed it up anyway! For some reason my waistband ended up being exactly the width of the skirt so there was no overlapping needed for the button closure. I reckon I didn't get the zip instructions right or got the pleats the wrong depth. But I made a loop and put the button on the inside so while it doesn't look perfect it still does the job. And I either wear the skirt with longer tops or narrow belts so it's not an issue. I am quite pleased with both items :) 


Tuesday, 6 October 2015

B&W Cardamome dress

I've been wanting to try Deer and Doe patterns for a while now but I never got around to do anything about it. But when the new collection got released and some of my sewing buddies placed a group order I decided to join in. I went for  Cardamome dress pattern - pseudo-shirt dress with interesting details - shirring, curved yokes, two piece-collar and tower cuffs.

Deer and doe dress

Originally I planned on making it in pinkish/brownish rayon I got some time ago but turns out you can't squeeze this dress out of 1,5m of fabric. So I grabbed black and white border print rayon that I got at recent fabric sale. It was only $4 per meter! I decided to cut the main top pattern pieces out of the border and it gives an impression of using two different pieces of fabric.


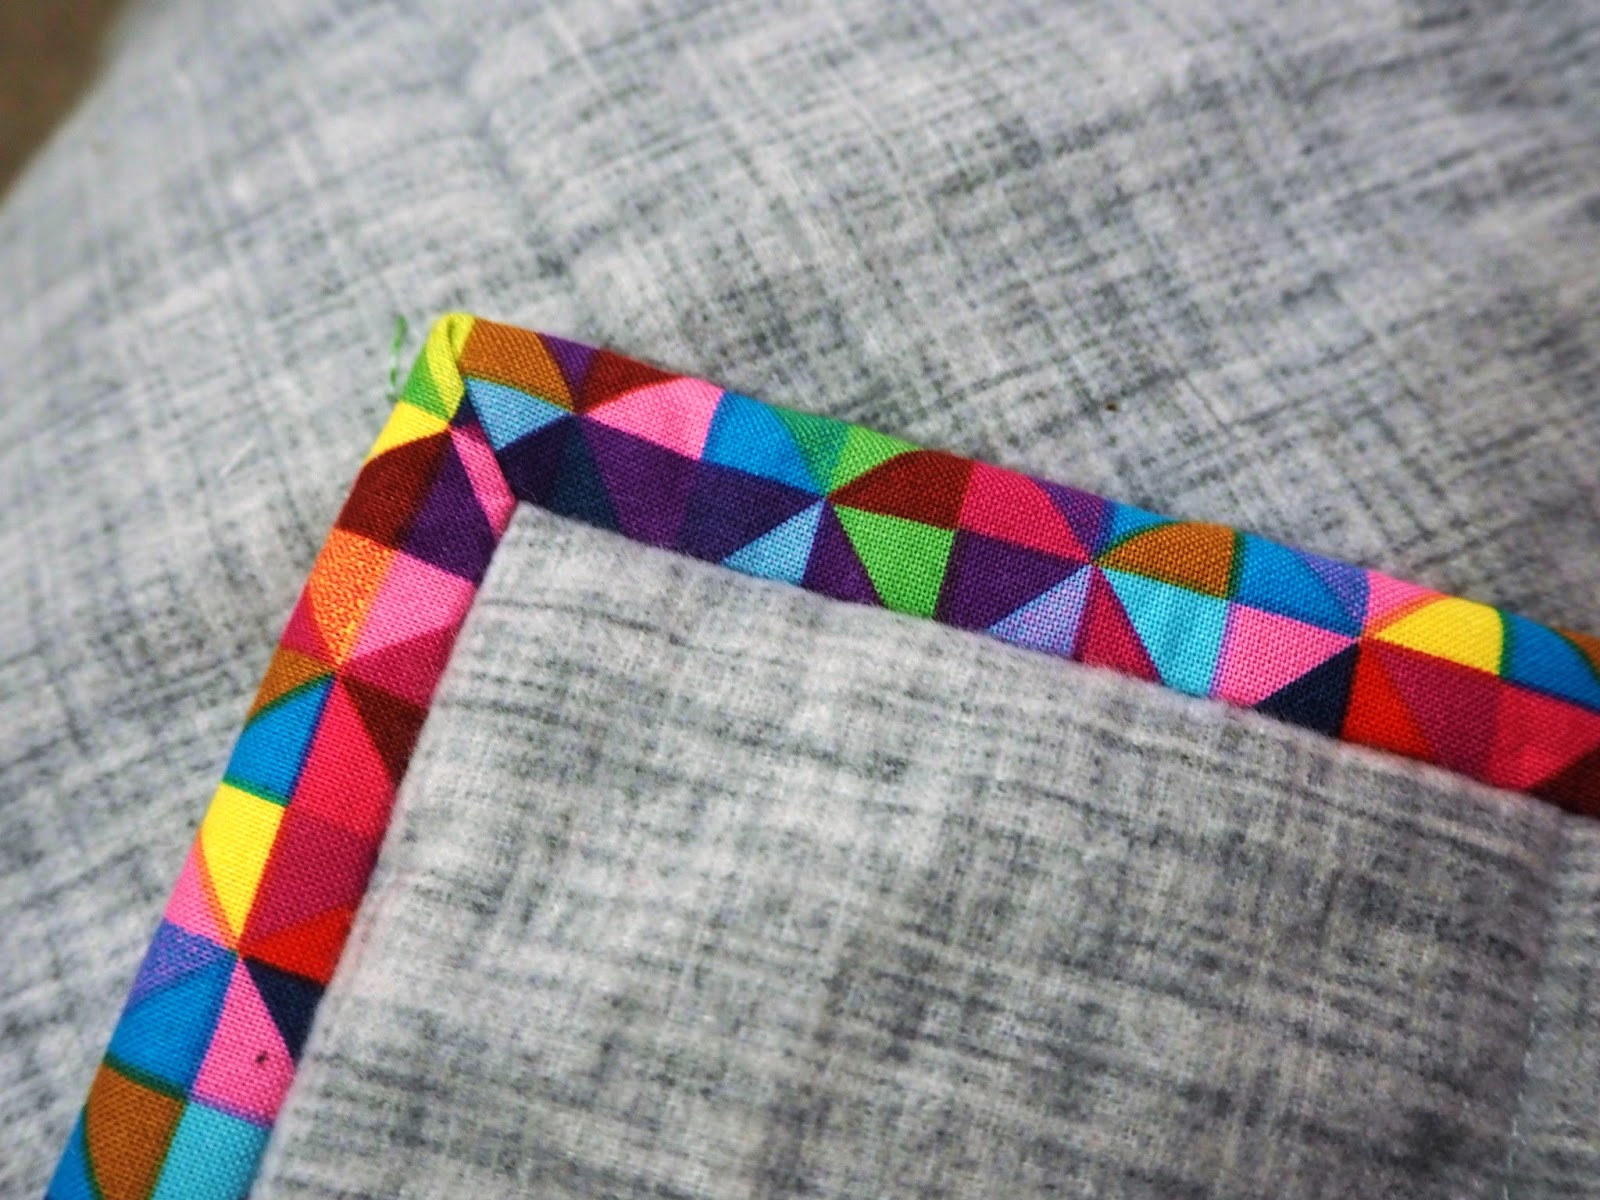
The yokes simply asked for piping! I have never used piping before but I'm always keen on expanding my sewing skills. I had black satin one and I really like piped yoke :) I also used it on pocket edges. Another new skill for me was shirring. I don't think I like this technique much but maybe I just need more practice. 


I cut size 42 and the only fitting adjustment I needed was 5 cm FBA. The armhole seems a bit low so next time I'll rise it by 1 cm. Oh, I also omitted the buttons as I never wear my shirts or shirtdresses buttoned up anyway. I made my Cardamome sleeveless as it will make it more wearable in Summer months :)


Do I need to tell you that I love this dress? It's very comfortable to wear and it's easy to dress it up or down. There will be more Cardamome dresses in my wardrobe for sure. The second one is almost finished already ;)

Excuse my silly poses - it was really windy today and I had to try to keep my hair off my face and my skirt down! 


Saturday, 26 September 2015

Merino chevron


Sometime before the winter started I went looking for some wool to keep me warm. I found this gorgeous chevron merino and I fell in love with it. Obviously it had to be mine. Then I just put it aside while I mustered up the courage to cut it... 


After a particularly cold week I decided my wardrobe needed a basic top to layer over shirts or undershirts. I used New Look 6150 - I just had to make the sleeves longer. Size 16 seemed to be perfect until I tried almost finished top on... It was huge! I had to unpick the armhole stitches and the neckline binding which was quite annoying since the thread matched the fabric perfectly! Once fixed this is one of my favourite tops to wear on a cold day. The only thing that bothers me is the hem - it stretched out while sewing and it's a bit wavey. I keep telling myself to shorten the top slightly and fix the hem but knowing me it will never happen.
The photos were taken at the Wellington Zoo - I thought you might be bored of my backyard! 


Perspective tricks... I'm barely 160 cm


Friday, 11 September 2015

My first quilt!!!

I made a quilt! And it's not just a quilt but also a wedding gift for my close friend Ola. I've known her for several years now, we met at work and quickly became friends. She and her boyfriend got married in June but unfortunately I couldn't make it to their wedding. Therefore I wanted to make something special for them. A quilt seemed like a good idea.


In search of inspiration I got Australian Patchwork and Quilting magazine (Vol 24 No 4). I really liked simple and modern design called Meadow Tracks by Emma Jean Jensen (and I'd recommend you checking her Instagram account out!) Once I decided that was the one I wanted to make I went shopping :)


Then it was whole lot of cutting, sewing, ironing and trimming... It actually went very smoothly! I'm not going to lie - it's not all even and not all the seams line up but I think I did reasonably well. I used nice and soft flannel for the backing and I used wool batting - it should be nice and warm!


I quilted it alongside the seams. It is really really hard to pull and push all that fabric! It also took a while to bind the quilt - half of it was done by the sewing machine but I sewn half of it by hand. I don't really like hand sewing but I wanted the quilt to have a nice finish.


When I was done I wanted to take lovely photos...  That never happened! It rained constantly for days and I was running out of time as it had to be sent. I took photos inside so the light is terrible and I didn't even have enough room to take a photo of the whole quilt!


Ola received her package and she was really happy with its content. Here is the photo that she sent me and I hope that the quilt will keep them nice and warm in winter!


Tuesday, 18 August 2015

Weekend Granville

Yup, another Granville. This time made in some sort of plaid cotton fabric that was very hard to cut. I only had 2 meters of it and that was not quite enough to do proper pattern matching and the collars are completely off. On the other hand I wanted to make more casual shirt and I think I achieved that look. For the first time I used pearl snaps instead of buttons and that was fun - hammer-sewing is very cool! There will be one more Granville in my future - I have the fabric ready and cut but I've been waiting for inspiration... Not that I stopped sewing but I worked on a big project recently and I need some simple sewing to balance it out;)

I still have some fitting issues - baggy back, slightly restricted movement in my arms and general impression that the shirt is too big. It is still wearable though. Also I realized that taking photos around noon on a sunny day is not the greatest idea... you can't see much! My bad, I will know for the next time!