Thursday, 4 June 2015

Painted Summer dress

Yeah, I made a summer dress just before winter started in Wellington! I am that kind of person! Somehow it is also my first dress made in 2015 - I've been making shirts and pants and tops last few months. I'm quite happy with it although dresses are usually my favourite garments to sew.
Photobombing are Nikki and Penny 

So I've been bit obsessed with shirts lately. Only two of them made it to my blog so far but there is more of them. So to have a break I decided to make... a shirtdress ;) McCall's 7084 to be exact.
The pattern is lovely and I'm so in love with pattern cover illustration. I bought some striped cotton with an intention of making an exact copy of it in the future. The pattern comes with 4 sleeve and 2 skirt variations.
All those photos were taken by lovely Laura
I decided to make view D with sleeve tabs. I really really wanted skirt with godets but I didn't have enough fabric. Instead of that I managed to add extra flare to the skirt pieces (2-4cm on each seam) I also had to shorten the sleeves and cut pockets out of some scraps in my stash. The whole arranging pattern pieces on my piece of fabric was like playing tetris!
My fabric is actually a 3 yard piece of quilting cotton by Lida Enche called painted summer. I love little hummingbirds among those flowers! It was my Trade Me score. It was great to sew with :)
It took me almost half an hour to set on the size. Considering my body, patterns and finished garment measurements I just confused myself. I assumed I needed a FBA and that didn't make things easier. I finally decided to just stop thinking and start doing and traced size 18 onto pattern cloth. After pinning it and checking the fit I decided to add a 2 cm wide wedge to the bust line of the side front piece and I added 0.5 cm to the length of the front. After basting the back and front pieces I had to take out some fabric above the bust - it seems that I have hollow upper chest ;) I think it worked well - dress fits nicely and there is no gaping and no extra fabric anywhere.
Just because I always mess things up I got the bottom pieces the wrong way around so the seams don't meet at the waist. Busy pattern hides it so I'm not very worried but next time I will be labeling my pieces with greater care. I added polka dot pockets - I had no fabric left for the pockets!
I wanted blue buttons to match my birds but I couldn't find any suitable ones in my local notions shop. So I got some pearl, white and silver, and chrome buttons but I couldn't decide! I asked for opinions on Instagram and went with majority of votes - chrome buttons. I'm happy with it.

And a close up on pockets, buttons and sleeve tabs :)

Tuesday, 26 May 2015

High Tea with WSBN

One of the first things I learnt about WSBN ladies was that they are a group of foodies - myself included ;) It seems we like eating almost as much as sewing! This time our excuse was Penny who lives in Auckland and owns the biggest indie pattern online store in New Zealand - Dresses & Me. She came to Wellington and we just had to show her local fabric stores and have some yummy food.

The Fabric Warehouse
I have a huge crush on Zara's Watson jacket!!!
Helping Kellie find the right fabric to match the lace

After shopping for couple of hours we went to Kilbirnie. Surprisingly this was my first high tea. I wasn't sure what to expect but I'm always keen on new things. And it was lovely! We went to a place called The Little Teapot - all 19 of us! There was yummy tea and even yummier sandwiches and cupcakes and the chocolate mousse was to die for! And look at the teapot cosies! It won't be my last high tea as the girls promised me they will take me around to all the places that serve high tea in Wellington. I can't wait!


I also managed to get some photos taken of my new dress - I will blog about it within next few days :)
Tuesday, 19 May 2015

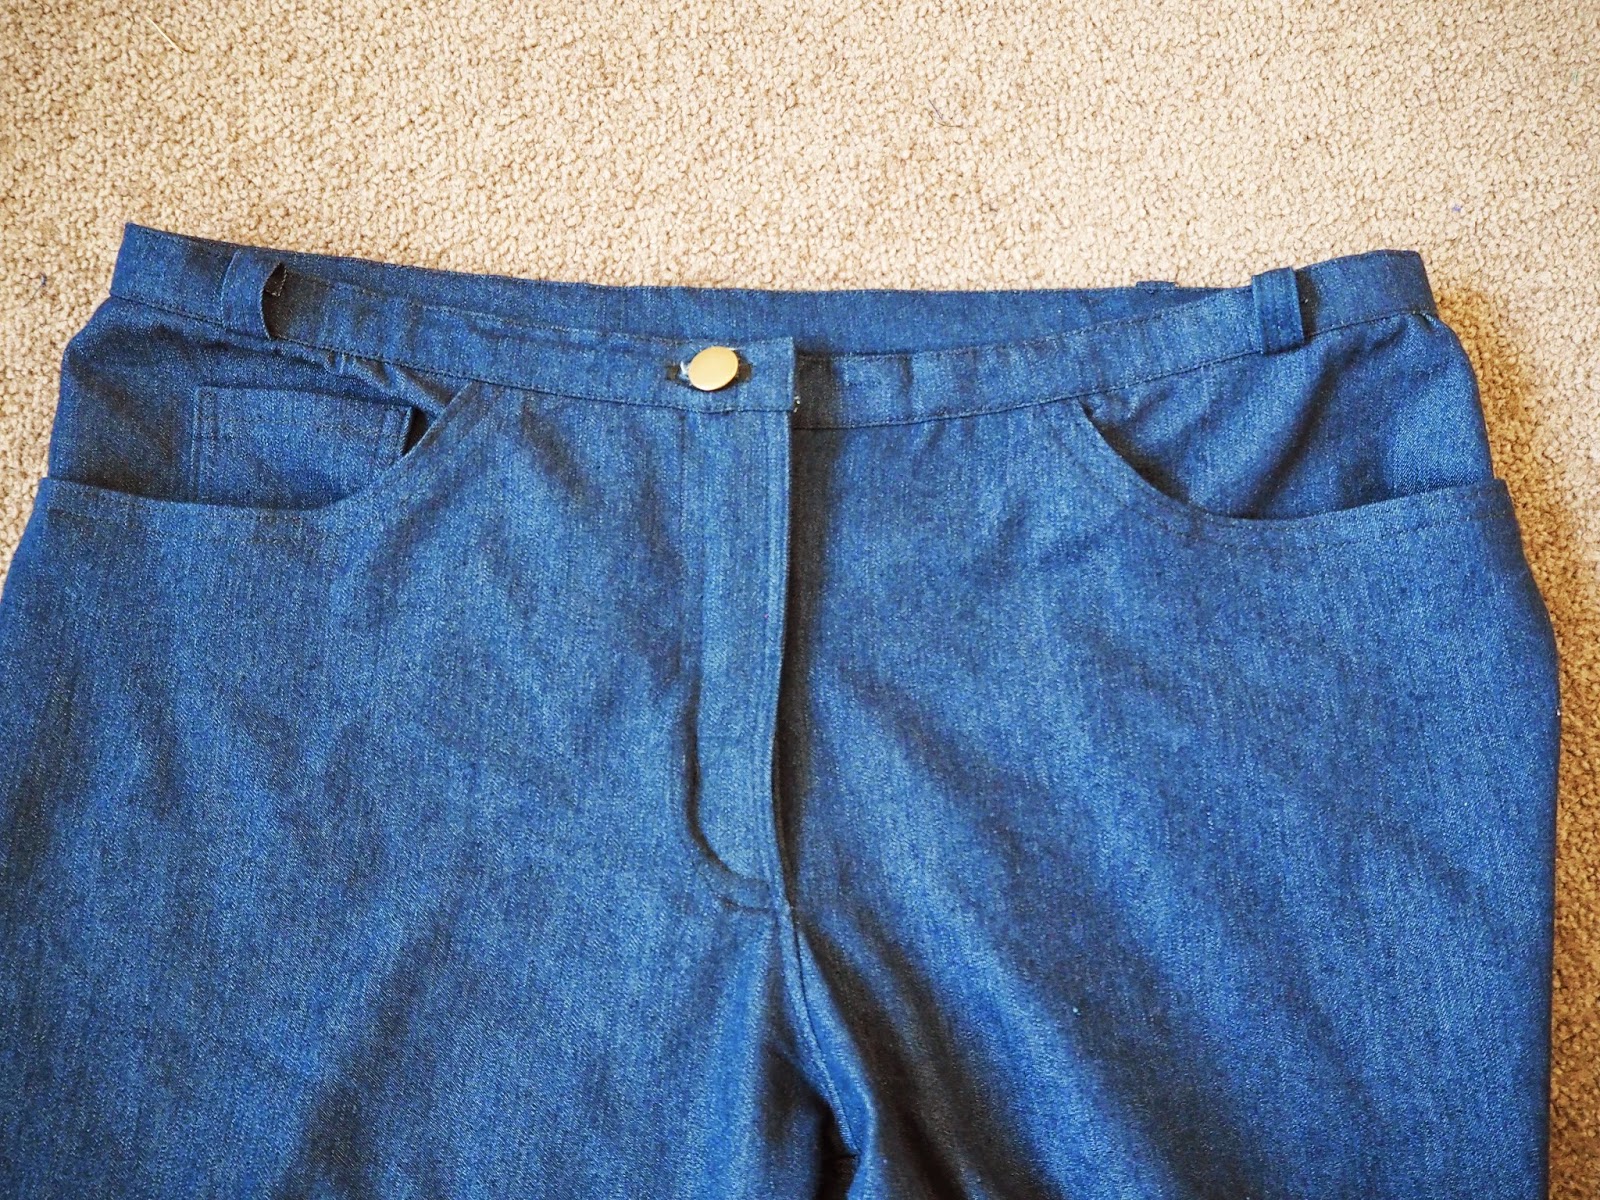
Burda jeans vol 2

When I made my polka dot jeans I knew I'd make that pattern again when I get my hands on some denim. Do you know that in Polish jeans means both a type of pants and type of fabric? Anyway, I got some dark blue denim at Spotlight some time ago and decided to sew pants in between my Granville shirts ;)

The main reason it took me couple of months to make this pattern again is the sizing and using fabrics with different properties. Since the polka dot fabric was really stretchy and my denim has minimal stretch I decided  to size up. They are still a bit tight but just give me a week or two - I've lost 6 kg since April so I think I will be able to wear them soon.
Unfortunately this denim is not the best quality. It is a bit thin and it can get damaged pretty easily! Unpicking stitches left marks on the fabric and I am not impressed about that. Once I realized that it's not what I wanted it to be I kind of lost my interest in making my jeans perfect. I just wanted to finish them! I have some issues with the trouser legs around my knees. There is some strange bagging and pulling probably because my full thighs and calves. I tried to google it but all the fitting advice for trousers refer to crotch area... The rest seems to be ok, at least for me.

My fly zip is much better than a previous one! Yay! Also the waistband has improved - I used proper waistband interfacing which helped a lot! It was impossible to use my buttonhole making foot so I improvised and used zig-zag stitch to make one myself. Not fully happy with the placement and the look of it but it's functional. Also this time I used proper "jeans" button. I finished the pocket edges with "Hug Snug" rayon tape - Kat gave me some to try it out. And while I didn't love it I think it gives me more options and I'll be getting some for myself sometime soon.

Now I just need to find some nice denim and do it all over again...

Is there an English name for this tiny pocket? In Poland it is sometimes referred as "kondomówka" which means condom pocket :P
 And here are some detail photos:
My belt loop placement is all weird but well - it's functional ;)


Hug Snug finish - not very even I admit. I need more practise!
Fun pocket piece

Thursday, 14 May 2015

Little blue top

Hello! I am a bit ashamed to tell you that this is one of my last 2014 makes! I was going to show you something different today but found these photos on my drive - I guess this might be considered a bright side of my laptop acting up! I had to make sure that I everything is backed up in case it has to to a laptop hospital. The threat is still there but at least the patient is in stable condition and it might make it!  The photos were taken ages ago too but as you know I am a lousy blogger - I promise next post will be with more recent make and with photos taken only a few days ago ;)


I used pattern #111 from February 2014 Burda magazine. Cropped, wide top with ruffles doesn't really sound like me though so I had to change a few things. I lengthened it by 10 cm (I think). I cut size 42 and the measured it across the bust - there was over 20 cm ease!!! Being lazy I just took out 4 cm along the fold line of front and back bodice pieces which also reduced the width of the neckline. I also realized I'm not the sharpest tool in the shed when I didn't do the same for the facings! On the other hand that gave me a chance to try finishing edges with twin needle and while it won't always be the best solution I quite like it. Oh, and of course I skipped the ruffles and lengthened the sleeves. I ended up with a nice top which is just a fraction too short for my liking. It works with skirts but not with jeans.

I used leftover fabric from this dress. I'm still not sure what this fabric is called but I know it's cotton with a little bit of stretch and it has diamond/square texture.

The only annoying thing about this top are the darts on the top of the raglan sleeves. They stick out and I've tried reshaping them but in the end I just gave up. I will have to do some research next time or draft my own sleeves. That could be fun!

Also, I need to do something about my photos - this top is quite nice in real life but on the photos it just doesn't look right. Being a photographer and a model in one doesn't seem to be working well for me! I guess I feel silly taking photos with a remote and a tripod. I  try to have other people take photos of me but unfortunately I don't always have that opportunity.


Tuesday, 5 May 2015

The longest UFO

So... I made Jenna post about her new makes so I figure that I should post something too. I've been so lazy about writing and taking photos so now I have quite a few things to share with you guys :)

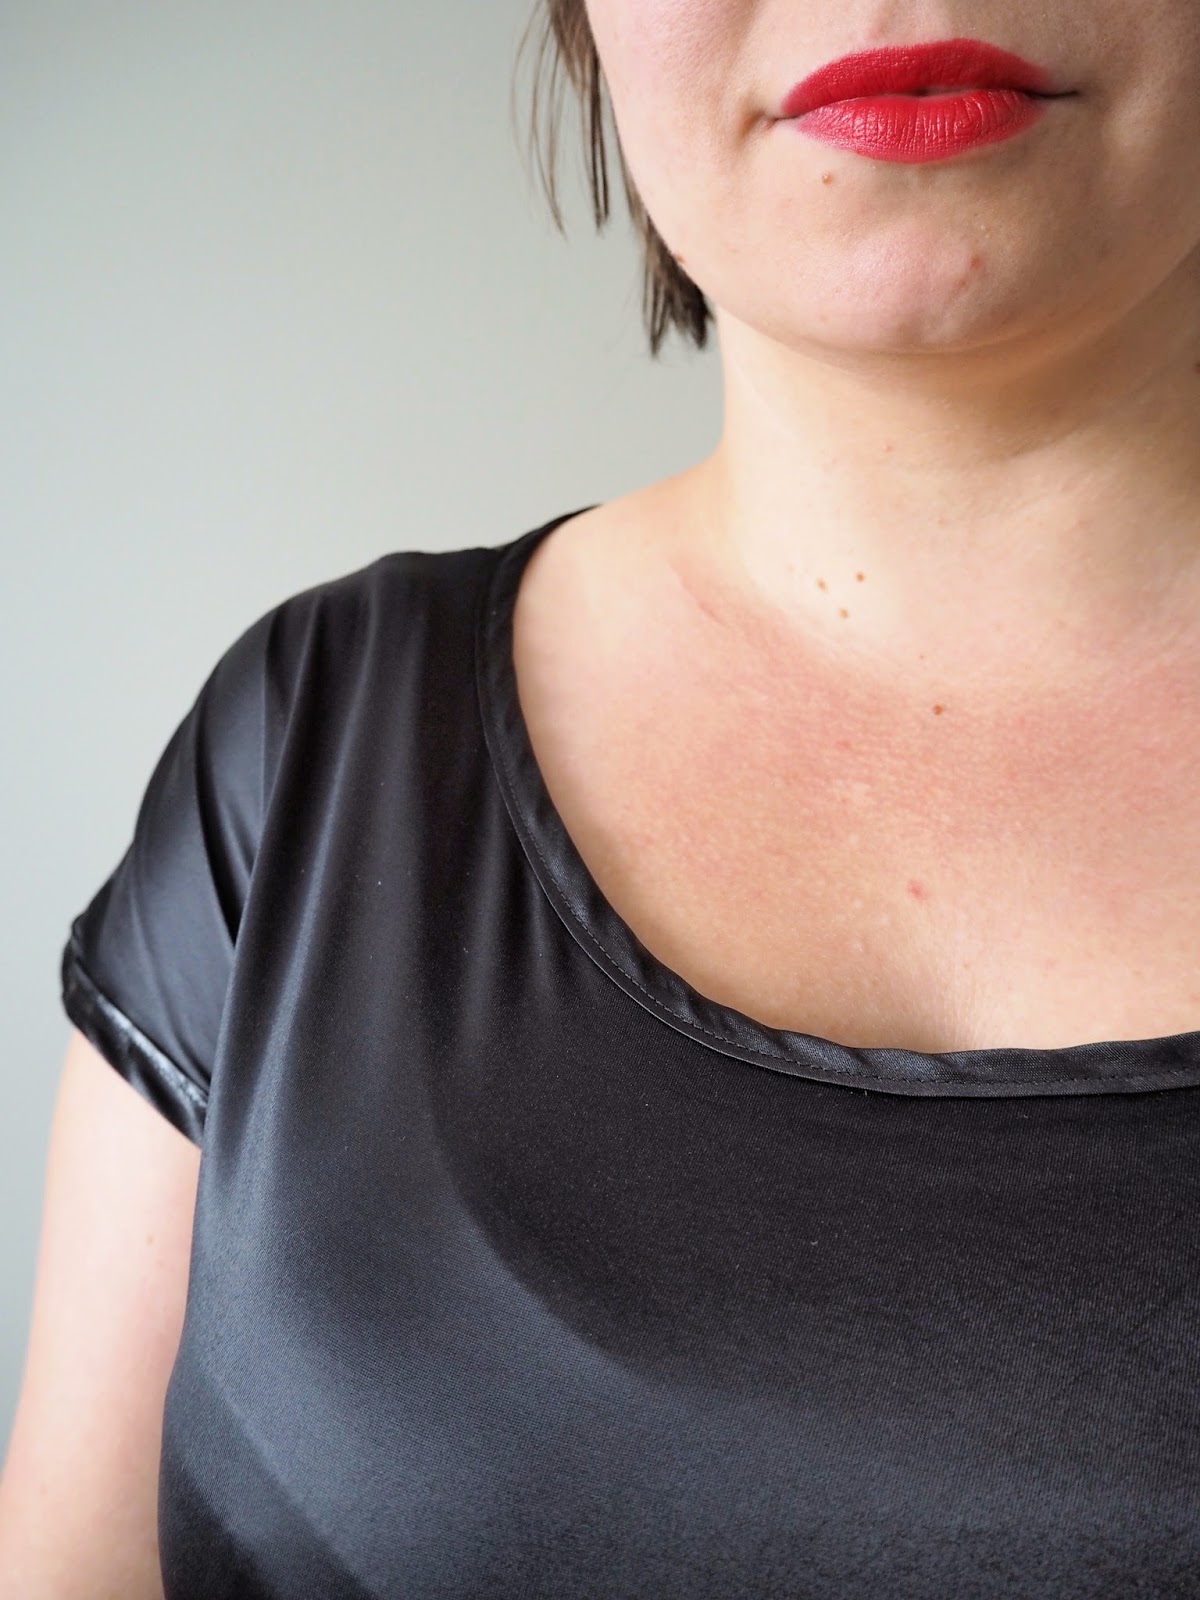
This one is my longest UnFinished Object in my I-have-no-idea-how-to-deal-with-it pile. When I bought this fabric I didn't even suspect how hard it would be to deal with. It's thin, stretchy, very shifty and my sewing machine hated it with a passion. Fortunately I was ignorant enough that I just went ahead. Each seam was sewn with tissue paper between the fabric and the feeder. I didn't have a walking foot then so that was the only way my sewing machine would stitch it. When it came to finishing the neckline, armholes and hemming it I gave up.
I picked it up again in February, after over a year I think. My sewing machine still hated it but with a walking feet it was mostly sewable (is that even a word???) I tried finishing edges with twin needle but it didn't work. So I found a satin bias tape which looks really nice with the fabric. It is supposed to be bias but it's not very flexible at all. Although now when I think of it maybe I can still fix it by long ironing session? I don't like the ripple effect on the neckline. On the other hand ironing does nothing to the fabric so the seams all look a bit off :/

I found this patter in Burda 7/2013. I can't remember the number but it's one of the plus size ones. I like the lines of this top. I made it before and I might do it again if I find suitable fabric. Previous one was no-stretchy at all and uncomfortable to wear, this one shows bumps and lumps but it's ok to wear tucked it and under a jacket. The hem also sits a bit funny. It's not my best make I admit. Or rather it's one of my worst makes and it doesn't really look too flattering on me. But I'm glad it's finished.


Oh, an one more think I need to show you! Who follows me on instagram already had a chance to meet Mr Pumpkin but I think I should show him off here as well. With some of the WSBN girls we organized a autumn gift exchange. Gifts had to be handmade and cost no more than $10. Included were 'traditional' days/celebrations associated with autumn such as Halloween and Dia de los Muertos. So amazing Juliet made this cute little guy for me:
Mr Pumpkin

Tuesday, 14 April 2015

0 Degrees Challenge


Welcome to the WSBN most exciting challenge yet! You can read all about it on Leimomi's blog. The idea itself is quite simple - we are based in Wellington, we shop in the same local fabric shops and we often have same patterns. So we wondered if we can create links between the members of our group. Spoiler alert - it worked!

I am the second one in our chain! The whole think started with Sophie's Granville shirt sewn with pretty floral cotton voile bought in the Fabric Store. I had bought the same fabric with the same pattern in mind so we have a copy cat link ;)

Having made Granville shirt before I decided to make some changes:
  • I cut size 14 with 5 cm FBA
  • kept size's 12 shoulder seam length
  • reduced the curve on the bottom of the shirt as it was sticking out funny
  • moved the waist 2,5 cm up
  • shortened the sleeves but they are still too long (my punishment for not taking notes on changes made on my first Granville)
I think the fit is much nicer now but I still have some slight gaping issues (photo below). I also think that my shirt is a bit too roomy around waist so I might go back to size 12 there when sewing my next one.


Sewing this shirt included some sewing drama. When I got to the sleeves and was just about to set them in I noticed a rip in the fabric!!! I was being careful with it so I have no idea where it came from. I was about to cry as I thought it was ruined. Luckily the group helped me find some good ideas how to deal with it including adding a lace appliqué, lace ribbon or a strip of contrasting fabric. I chose adding a strip of the same fabric that really blended in thanks to a busy pattern. So let's call it a design feature ;) There is another one of those. I'm not even sure why I am telling you all of that - no one would notice it in real life! So the second design feature is the buttons and buttonholes on the cuffs. Can you believe I double checked if I got the right side to put the buttonholes and still I sewn them on the wrong side? Yeah, I'm that kind of a person! 

Can you see the fix?
Design feature number 2 ;)


Hop over to Sandra to see how she is linked to me and keep an eye out for updates on Leimomi's blog :)