Tuesday, 25 October 2016

Brighter and brighter

The first time I wore this dress everyone kept saying that it was very "bright". No wonder - in Wellington everyone wears black all the time. I got super self-conscious and I wasn't sure if I actually should wear it in the office.  Luckily I got over it and this dress became one of my most worn over past few months!


The pattern is another version of Burda 10/2012 #118. There are few changes I made - I extended the facing piece so the edge doesn't go across my bust but below it and I did swap side gathers in favour of pleats. Oh, and I also extended the sleeves by 7 cm or so and shortened the skirt by 10 cm. As per last time I omitted the darts. This pattern is a winner!


The fabric came from the fabric sale and cost me whole $4 to make this dress. Not bad, huh?  The fabric is some sort of polyester knit and it worked well with the pattern - the drape is good, there is enough stretch to make it very comfortable and I can throw it in the wash without worrying about my dress. And I'm very glad that I got some photos taken by Gemma after a lovely lunch we had with Kirsten and Kat. We need to have them more often!


Sunday, 18 September 2016

Shirtdresses forever!

It took me quite a lot longer to blog about this dress than expected, but here it is - my second M6696 shirtdress. I had some issues with my first one but I started wearing it more often and I think it might be my summer office staple. I decided it was time to have a sleeved version.

shirtdress M6696

This time I took 5 cm out of the back piece. Looking at the photos I should have shorten the length by ~2 cm or so to stop blousing. But I am so much happier with how the back looks now. The other major change was the sleeve head shape. Thanks to some fitting issues with my coat I figured out how to fix my sleeves to be less restricting and more comfortable to wear. You can see the changes in shape on one of the photos below. Such an easy fix but the difference in wearing is colossal! I also changed the pocket piece to be bigger and deeper - the original pockets are way too shallow. Now I can actually carry my phone with me. And because I was too lazy to get my pattern out and trace the cuff piece I just finished my sleeves with a mini band.


The fabric came from a fabric sale - it's some sort of shirting cotton mix in tiny grey and black stripes. It was really nice to saw with - pressed well, didn't move too much and holds the pleats quite well. I used a medium weight interfacing, which it a bit heavier than my usual. I quite like it, the collar is nice and stiff. Unfortunately I forgot to trim the waistband and button band seam allowances and there were too many layers for my sewing machine to handle the buttonhole at the waistline. I had to do it with normal zigzag stitch and it's a bit messy. Luckily it is covered by a belt so it's not a big deal. The buttons came from my tin of random buttons - luckily I had several sage buttons that were the right size and they look alright with with my fabric.


Needless to say I am very happy with this dress. It fits nicely and it is very comfortable to wear. I also don't think it's my last M6696 - I think the pencil skirt option will be next ;)


Sunday, 28 August 2016

Winter star

When I bought this merino and nylon blend remnant at Levana last year I thought of making a spring/autumn top, maybe a dress? It is quite thin, almost see through so I never suspected it to be too warm. Boy, I was so wrong! I wore this dress on the coldest days we had this winter and it kept me nice and warm!


Initially I wanted to make Kielo Dress with this fabric but when I started going through my patterns I found Burda 10/2012 #118 already traced. I actually made it once before, just few months in my sewing adventure and my fabric choice wasn't that great and the dress ended up being way too tight. Anyway, this time the outcome is pretty good :)


Since I made the dress in knit with a nice amount of stretch I skipped the zip and the darts. Instead I just took the dress in a bit around the waist. Almost everything was sewn with my overlocker so it was a breeze to make! I hemmed my dress using triple zigzag - twin needle and my walking foot don't work well together. I also shortened it by 10 cm or so. The main problem with this dress - because there is always a problem! - is that I forgot the pattern needs seam allowances! I usually trace Burda patterns with allowances added but that wasn't the case when I just started sewing. In a result the dress is a bit clingy - it has to be worn with a slip but I only got one after taking the photos.


The dress has been in high rotation over past two months. I absolutely love it and I will miss it over the summer! But I don't worry as I seem to be a bit obsessed with this pattern and it will show up on the blog again in the near future ;)


Sunday, 21 August 2016

Winter coat

I can feel spring in the air so it's probably time I blogged about my winter coat! I made a WINTER COAT! Can you tell I'm very excited about it? It's probably my most advanced and complicated make yet. Not perfect but it keeps me warm and I absolutely love it!


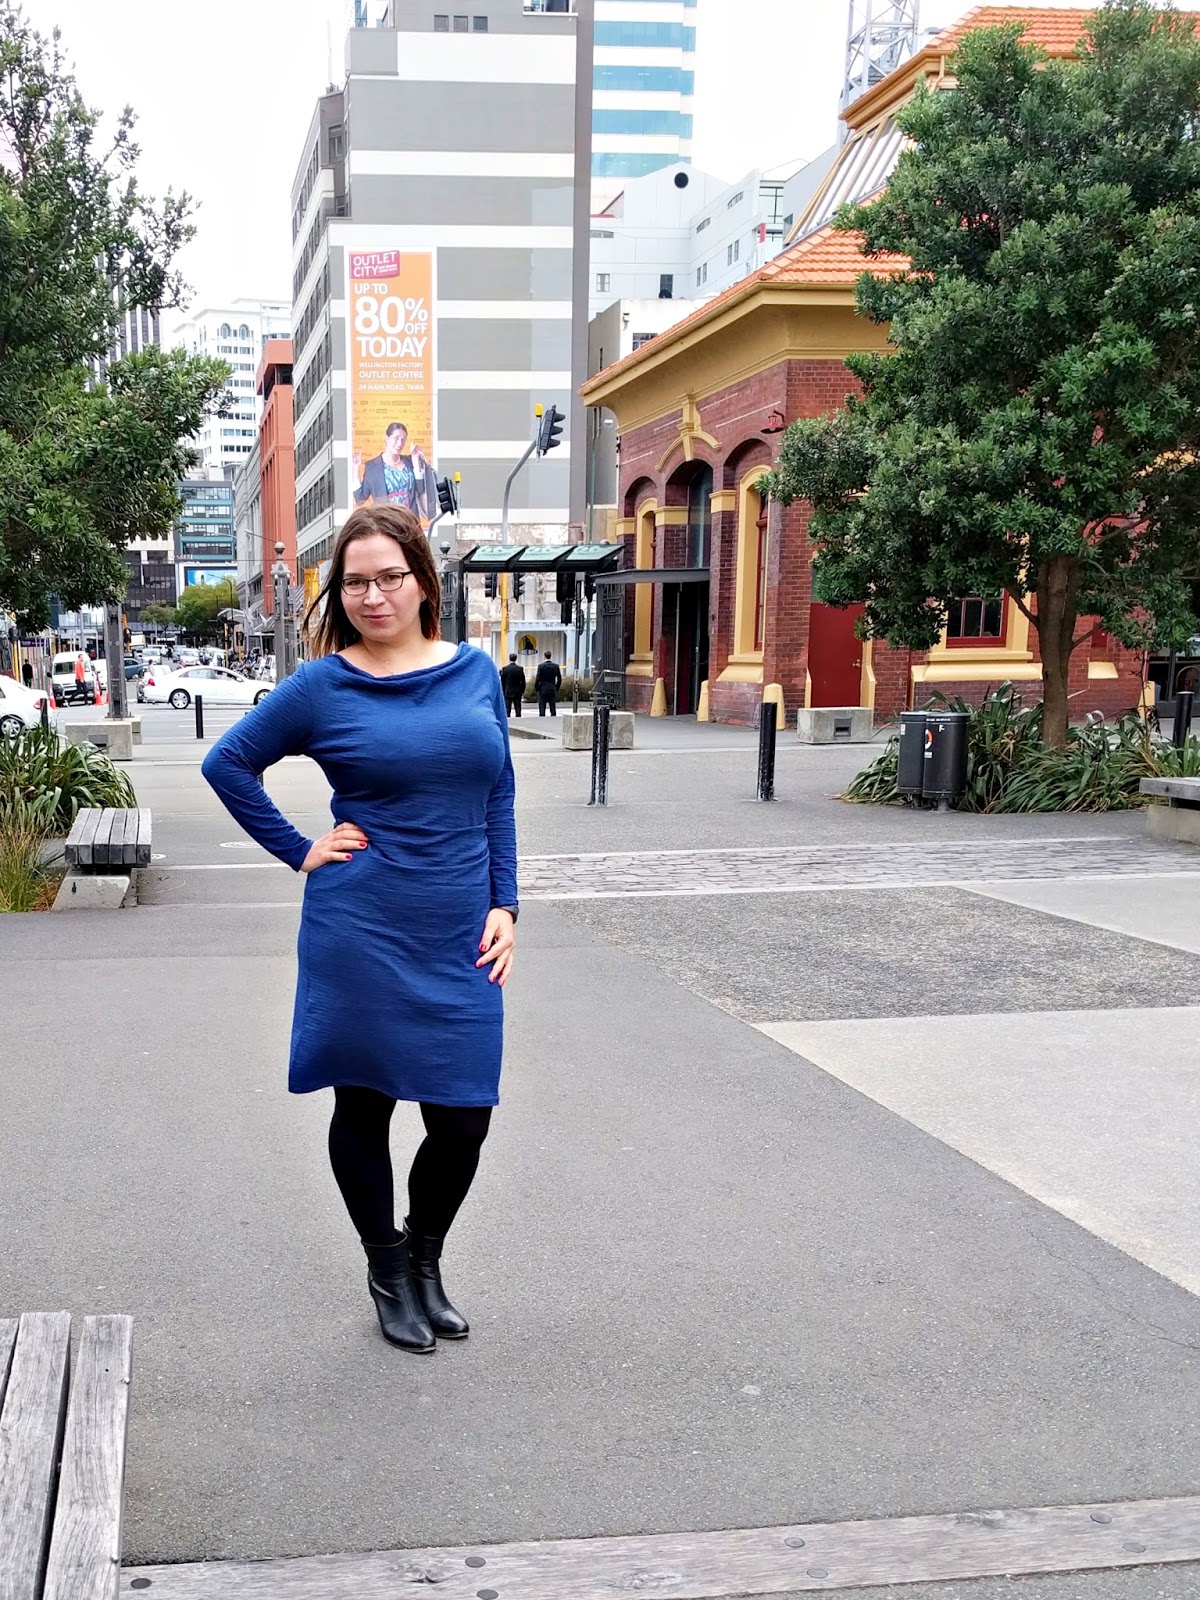
I wanted to make a longer coat with high collar and slightly military style. Burda 12/2012 #104 was just perfect! I got a PDF pattern and it was surprisingly nice to work with - no need for tracing the pattern is always good ;) I cut size 44 and decided to make a muslin. The overall fit was spot on but I had some issues with the sleeves. Once the sleeves were in, I wasn't able to move my arms much in any direction...not ideal. It took me a while to figure out what to do but when I found this post on Ikat Bag blog everything became clear. I lowered the head of the sleeve by 5 cm and kept the same seam length. It worked like a charm!


As usual with Burda, I had an issue with the instructions provided. They were only marginally better than "sew the pieces of the coat together." After reading them I decided I'm better off relying on my own experience. It actually went well! Turns out that sewing a coat is not much different than sewing a dress - it just has a few more pieces. In this case around 40 of them! As my fabric is almost the same on both sides I used masking tape to label the pieces and seam numbers.


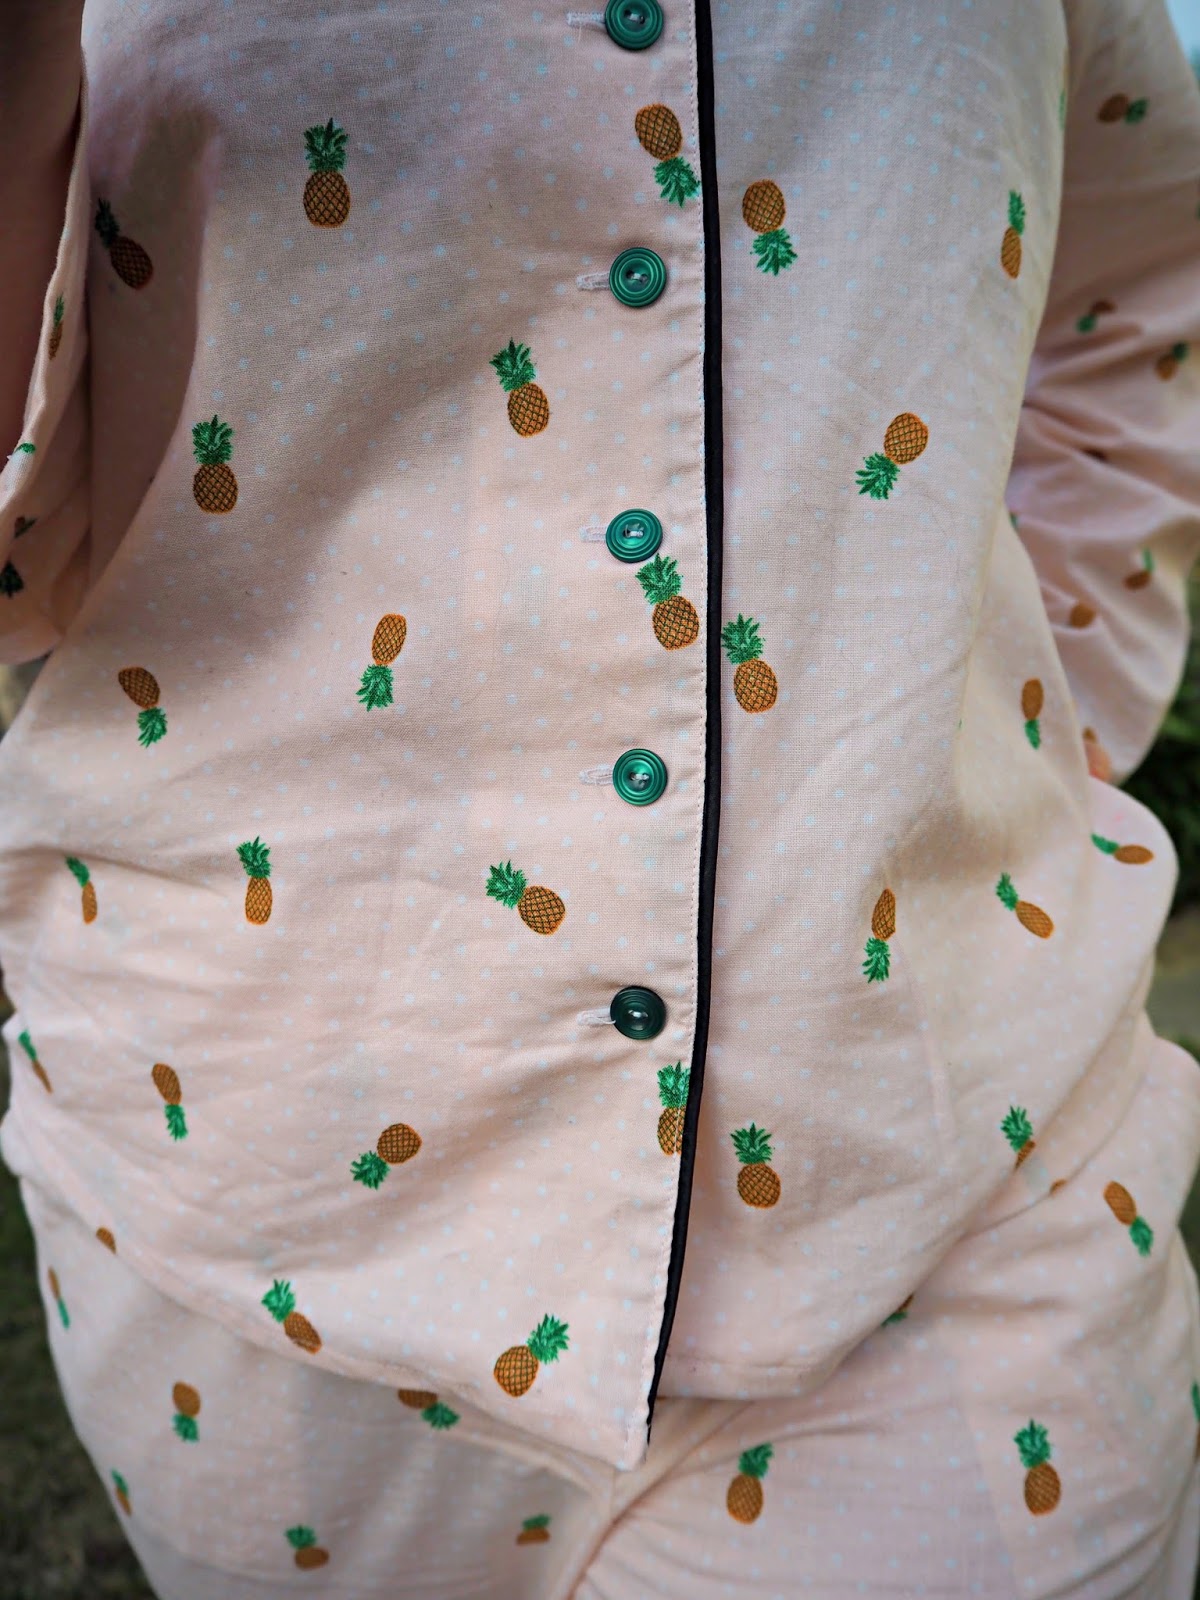
The fabric is some sort of the woolen mix I got on sale. The lining was originally going to be bright yellow but my fabric was way too delicate. After going trough my stash I found a piece of silk taffeta from The Fabric Store that worked well. It's slippery, feels really good and I absolutely love the colours. The amazing metal buttons come from Made Marion - the best craft shop in Wellington :)


I'm quote proud of myself. The coat is super wearable, keeps me warm and doesn't look bad. I made my first bound buttonholes and I was amazed how easy they are to make. And then I realized the problem is to make them all look the same! Mine are a bit wonky, I'm not going to lie here ;) I'm a bit angry with myself that I listened to Burda and only interface the facings... After a couple of months of wearing my coat the front got a bit out of shape. I think a good steaming session will fix it but it could have been prevented with interfacing the whole front. Lesson learnt! Other than that I think my first coat is pretty awesome!


Sunday, 7 August 2016

Green leopard

I made another Kimono Tee.  What a surprise, right?  It's my third, unless you count the dress version and I don't think it's going to be my last.  It is such a lovely T-shirt pattern! 


I used some mysterious knit I got in Masterton last year. I love the colour and I do have a thing for animal prints but it's quite hard to find good ones! There is really not much more I can write about this pattern. It's size M with 10 cm FBA and hand-stitched neckband. The only regret in making this top is not paying enough attention to pattern placement. I was sure I had it centered... I am a bit gutted but I think I've learnt my lesson! Anyway, the top is now on the bottom of my dresser under all sorts of merino/wool clothes... Winter just got serious in here!


Sunday, 3 July 2016

Space Invaders dress

Can you tell I'm super excited about this dress? It has Space Invaders! How cool is that?  I found this fabric at Levana in Levin last year. I only got a meter and initially it was going to be a hoodie or a casual top. The fabric is a bit weird - it was oddly stiff (luckily it got softer after a wash) when bought and the pattern is actually printed on white fabric! It doesn't look good when stretched. When at Levana I also got this green cotton jersey - it provided the best match for the space invaders fabric.


One evening, just after finishing my first Philippa dress I decided I needed more dresses like that in my wardrobe. After going through my stash I found several fabric combinations that would work well. You might see this pattern made up few more times ;) Since both of my fabrics are stretchy I omitted the zip and cut the back on fold. I finished the neckline and armholes with bands made of green jersey. And because I used the overlocker to put it together my new dress was ready to wear in about an hour! I love when that happens!


I wish I used clear elastic to reinforce the seams. They tend to sag a little bit. For that reason the pockets are not super usable. But it's not really going to make me stop wearing this dress - I love it! It also receives a lot of comments once people realize it Space Invaders ;)
Big thanks to Kat and Kirsten - we met to have brunch, took some photos, visited The Fabric Store and Wellington Chocolate Factory. Because one thing we love as much as sewing is chocolate!


Sunday, 26 June 2016

Day in the office

Let me tell you a secret - every girl need a silk blouse! You put in on and feel like you can do anything! So when I know I'm going to have a tough day in the office this blouse is my secret weapon!


The blouse was made using the vintage inspired pussy bow pattern from the Great British Sewing Bee book. It is my second make using a pattern from that book - both are quite successful! The instructions are amazing, I didn't have any problems putting the blouse together. There are only two things I'd change if I ever make this top again - the instructions don't tell you to interface the edges where the buttons and buttonholes go. It looks a bit messy! The other thing I completely missed is the fact the blouse is designed to have drop shoulders. They never look good on me, so I had to adjust the armhole shape. It did affect my sleeve length and they ended up on a short side. I made size 16 with no alteration other than the shoulders. Size 14 with an FBA would probably be better - I was just too lazy to adjust the pattern.


I wasn't sure if the blouse like that would suit me so I chose to make it out of some dotted charcoal silk I got during one of the fabric sales. It was my first time working with silk but it was surprisingly nice to work it. Luckily it's not of of those super-shifty ones! Microtex needles helped a lot and kept the stitching nice and even.


I do like this blouse more than I expected I would! I usually wear the ties loose, I think it works better for me that way. I also learnt a bit about handling more slippery and delicate fabric that I'm not used to. So I guess it is a win-win for me - I got a nice silk blouse that cost me under $10 and learnt a lot during the process!


Wednesday, 1 June 2016

Sweet dreams!

First thing first - I'm not a pyjamas person to be honest. I'm more of a T-shirt kind of girl when it comes to sleeping. I can't ever remember last time I had a set of matching pyjamas! Although I think this might change soon!


During last fabric sale I spotted some cotton covered in pineapples and right away I knew it was going to become pyjamas. I wanted something classic -  buttoned top and cuffed bottom. I immediately thought about Carolyn Pajamas by Closet Case Files. Within a day the pattern was printed and taped and the fabric was cut. It's unusual for me, usually both patterns and fabrics have to mature a little bit in my stash before I use them ;)


I made size 14 but followed the lines for size 16 on the outside thigh seams. The fit is pretty good - my pyjamas are loose enough to comfortably move around in bed but not overly baggy. I wanted to have cuffed sleeves and bottoms but the length turn out to be just right without them and I just couldn't be bothered. Sometimes I am so lazy!


I am really happy I went ahead with piping. It was my first time using it and it turn out pretty well. I expected piping to be more fiddly to be honest! The biggest problem was caused by interfacing I used. It was super heat sensitive and there was a very fine line between the interfacing not sticking to my fabric at all and distorting and melting! So the facing and the collar are not as nice and smooth as they should. The other problem is with the facing not staying fixed in place. Next time I'll stitch it down.


I really like the finished pyjamas! Comfortable and they have pockets, and everyone knows that pockets are awesome! Pineapples are awesome too so double points for me ;)